
OverviewInstructionsResourcesActivity Management
Prezi is an online presentation builder which can be used to introduce ideas/concepts in a much more creative, visual and dynamic way than PowerPoint slides.
Units |
Presentation Tools |
Duration |
1 hour |
Standards |
Communication |
LEVEL |
Advanced, Beginner, Intermediate |
WEBSITE |
Visit Prezi Website |
OS |
PC or Mac |
PREREQUISITES
- Basic use of Internet
- Ability to set up an account online
OBJECTIVES
At the end of the lesson, users will be able to:
- Explain Prezi’s potential use for presenting in the world language classroom.
- Sign up and create their own Prezi account.
- Critique the effectiveness for language teaching of other Prezi projects.
- Determine what kind of tasks would be appropriate for their language students.
- Explain how to design Prezi tasks focused on student collaboration.
- Describe how they will assess students’ learning progress.
- Talk about an example of one activity using Prezi in alignment with the standards for language learning.
MATERIALS NEEDED
- Internet access (access to http://prezi.com/ )
- .jpeg or .gif images to download
Step-By-Step Instructions
The following are the main features of Prezi and what you can do with it in your world language classrooms:
- Engagement. Because of Prezi’s engaging and impressive looking, you can use it to engage those students who need a strong inspiration to grab and hold their attention
- Vocabulary building. Use it to introduce new vocabulary and concepts in a non linear form with its unique zooming feature. You can type in a word in the target language and ask students to zoom in to translate the word. You can also ask students to type in the word to be defined and then zoom in on the definition.
- Brain storming. Have students use it to take notes and then organize their notes
- Story Boarding. Ask students to use it for story boarding
- Collaboration. Design a group presentation assignment and ask group members to collaborate online, with live updating.
Prezi, like all presentation tools, should be used with usability and design principles in mind. Just as a PowerPoint presentation has the ability to engage or enrage students depending on how well or poorly it’s made, so too can Prezi overwhelm your audience if made incorrectly. Watch this short video on how to avoid “Death by Prezi” in the classroom:
[youtube https://www.youtube.com/watch?v=WxgcrwmZRoo&version=3&hl=en_US&rel=0]
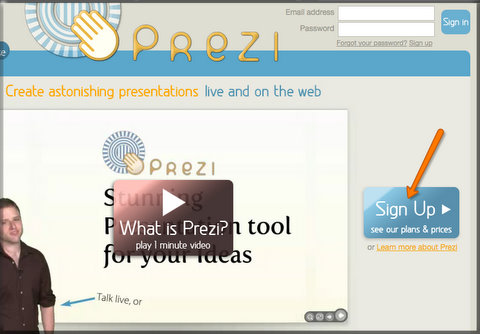
To create your first Prezi:
- Go to http://prezi.com/ To sign up, click Sign in.
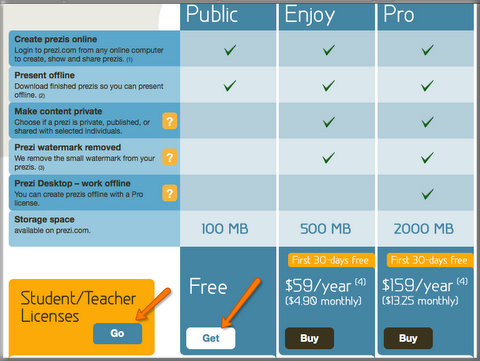
- You can choose “Public License” for a free download. Click Get.
- If you are an active student or teacher, you can choose “Student/Teacher Licenses”, which give you more control over your Prezi account. Click Go on the “Student/Teacher Licenses” tab.
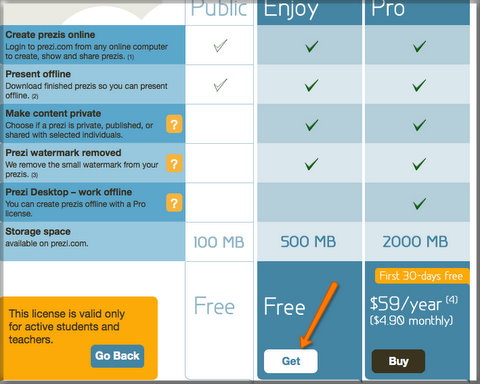
- Click Get.
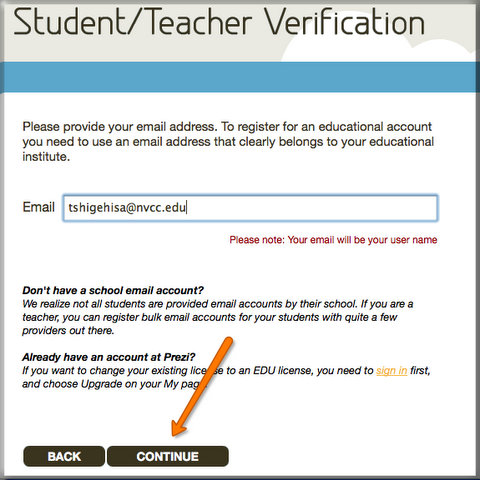
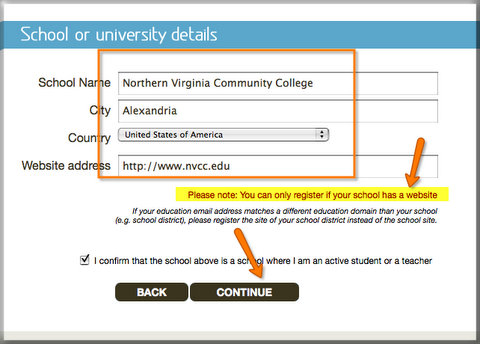
- Type in the e-mail account that you maintain at your educational institution. Click CONTINUE.
- Type in information and click CONTINUE.
- Click Close.
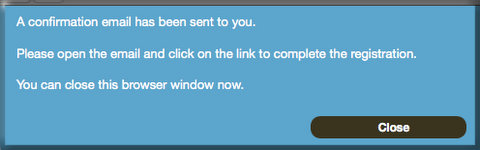
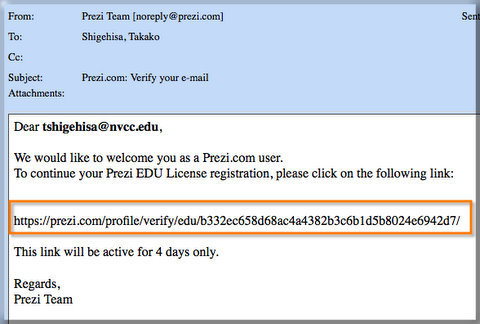
- Go to your e-mail and click the URL sent by Prezi.
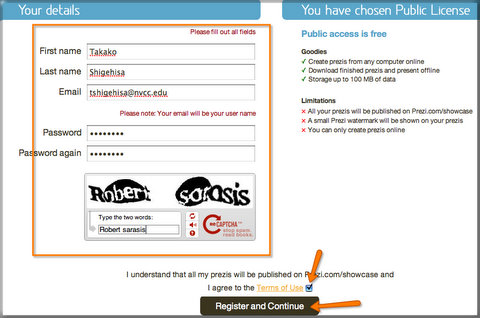
- Type in the information, check to agree to the Terms of Use and click Register and Continue.
- If you are an active student or teacher, you can choose “Student/Teacher Licenses”, which give you more control over your Prezi account. Click Go on the “Student/Teacher Licenses” tab.
- Type in the information, check to agree to the Terms of Use and click Register and Continue.
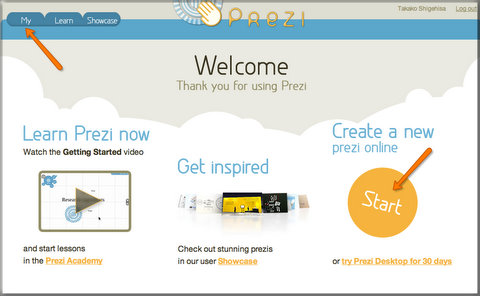
- Now you are logged into Prezi. Click Start or My to create your Prezi.
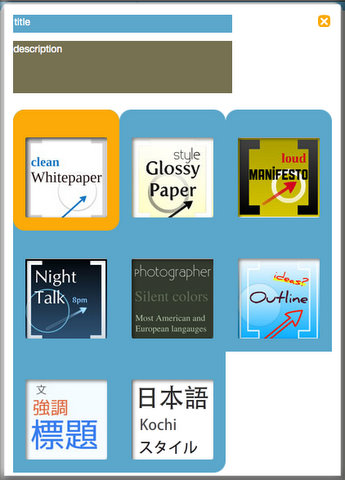
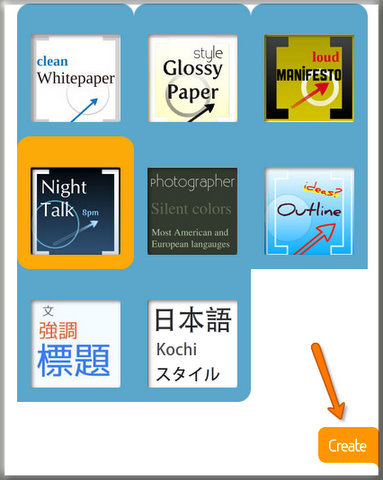
- Prezi templates automatically appears.
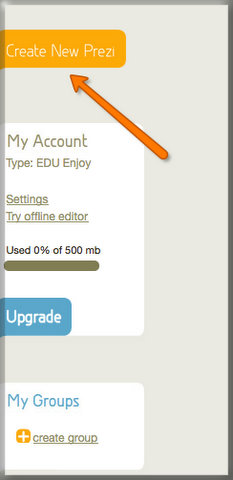
If you do not see the templates, click the Create New Prezi tab on your left.
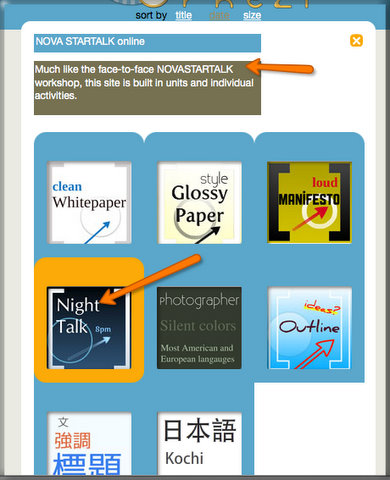
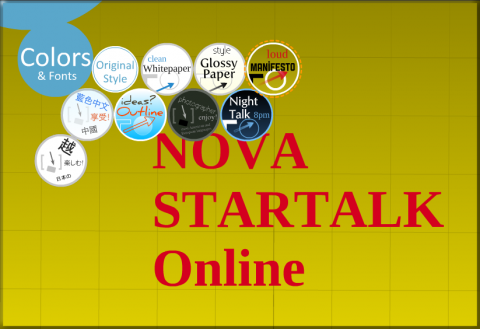
- Type in the title and the description of your Prezi and click one of the templates you like (in this example, Night Talk).
You can change color and font easily later, so don’t spend much time considering these options now.
- Click Create.
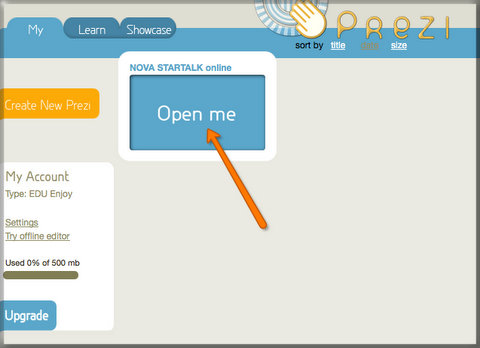
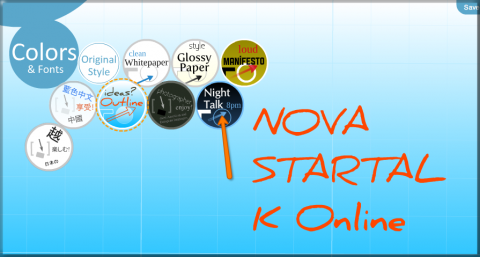
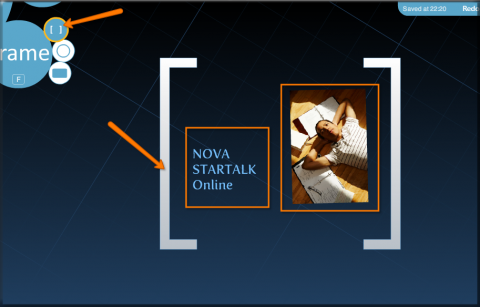
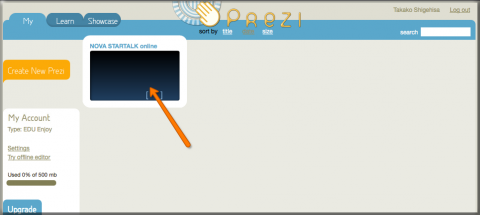
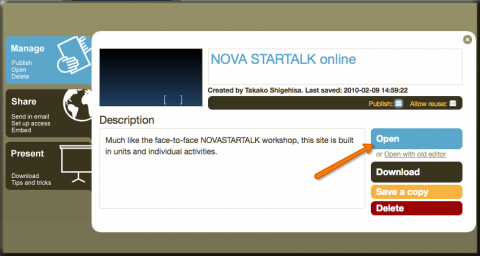
- Now you see your Prezi (in this example, NOVA STARTALK online). Click Open me.
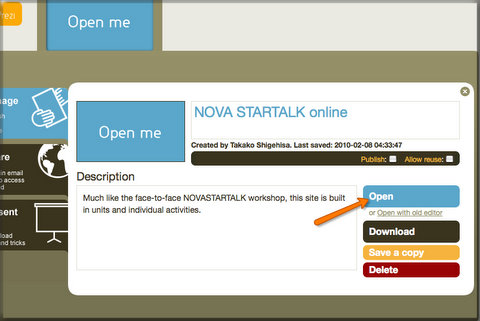
- Click Open.
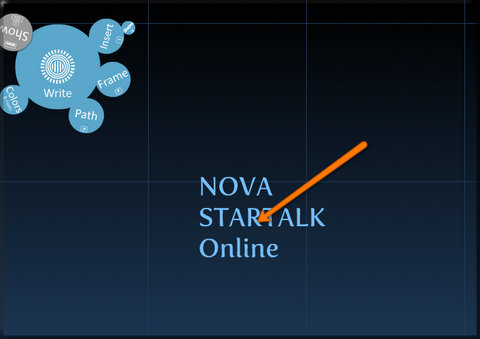
- Now you see your Prezi canvas where you will create your presentation.
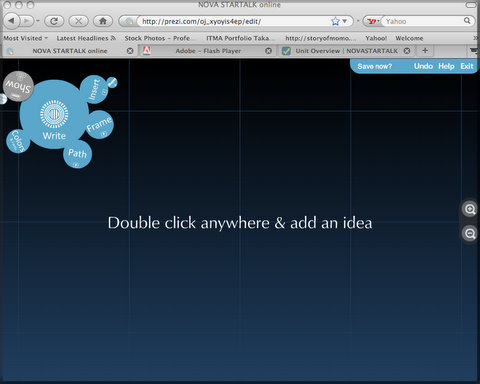
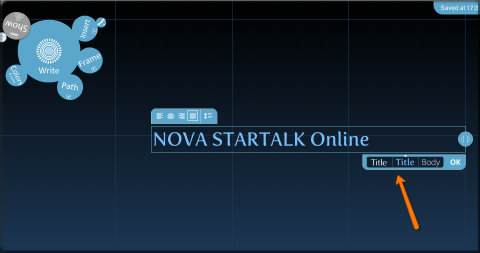
- To write text, double click anywhere. Do the same to edit existing text.
Prezi will give you three different styles/colors for the text. Click the the style you like.
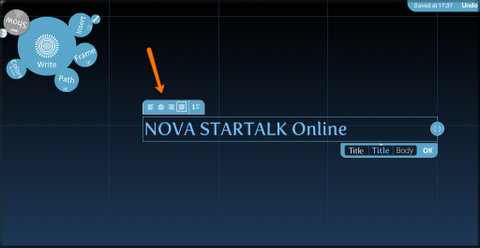
- Choose the alignment of the text by clicking one.
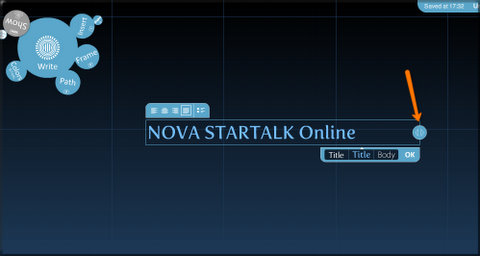
- To change the size of the text box, drag the arrow at the end of the text box.
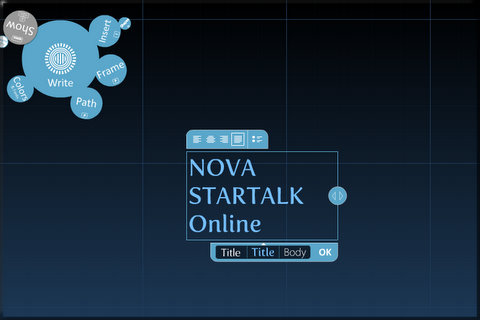
- Now you will see the text in a text box in a different size.
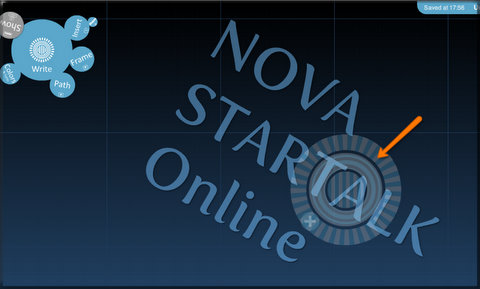
- To edit the object (move, resize and rotate), click on it.
- The tool called Transformation Zebra appears.
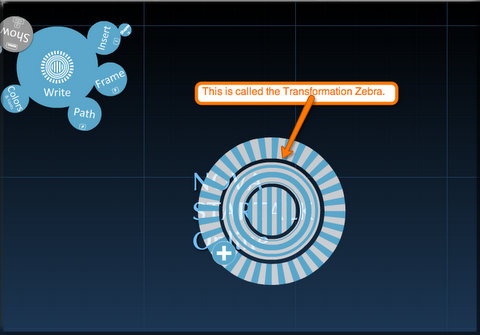
- To move the object, drag the center of the Transformation Zebra.
Now you can see the text is being moved.
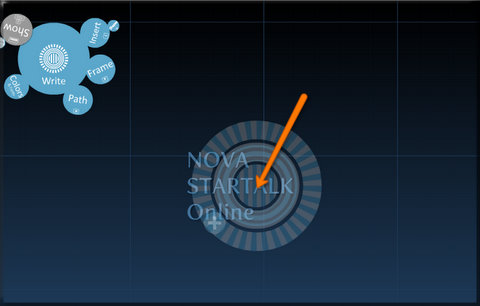
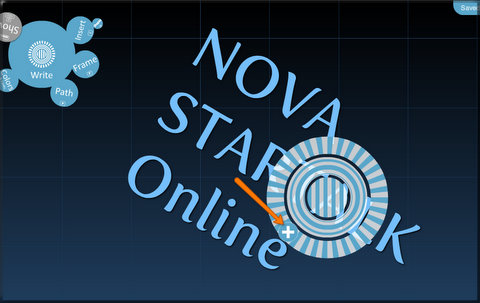
- To change the size of the object, drag inner ring to inward (make it smaller) or outward (make it bigger).

- To rotate the object, rotate outer ring.
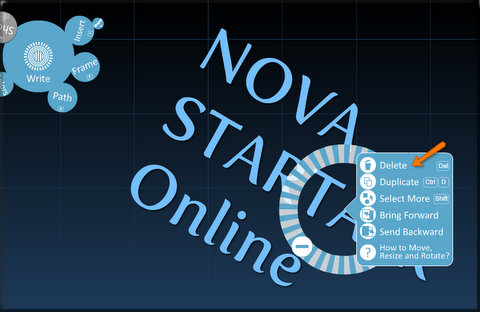
- To access more options, click the plus sign on the Zebra.
- Click Delete if you would like to delete the object.
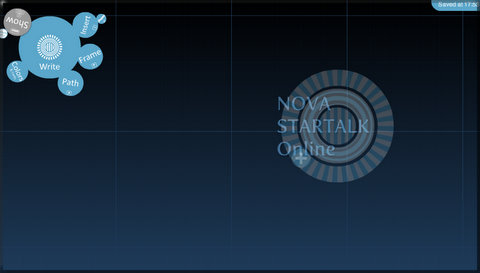
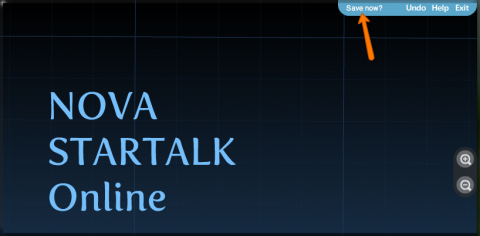
- Do not forget to save often by clicking Save now?
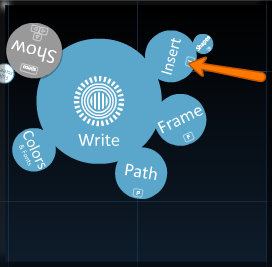
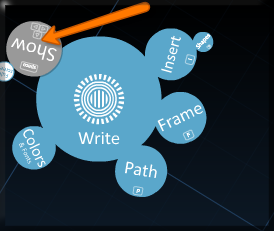
- Take a look at the Bubble Menu. The default Mode is Write where you can create and modify text.
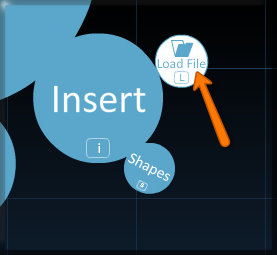
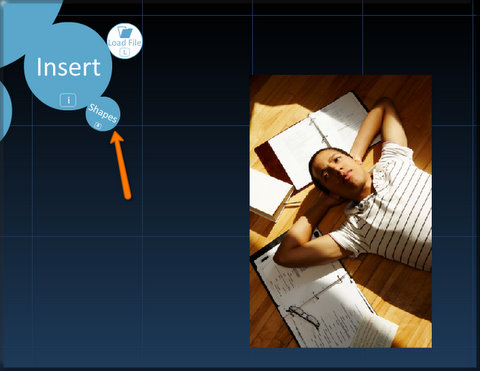
- To insert image, click Insert bubble.
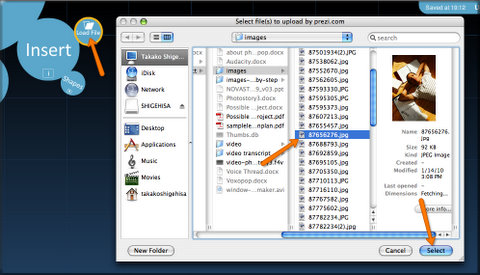
- Click L on the Load File tab.
- Select the image you like and click Select.
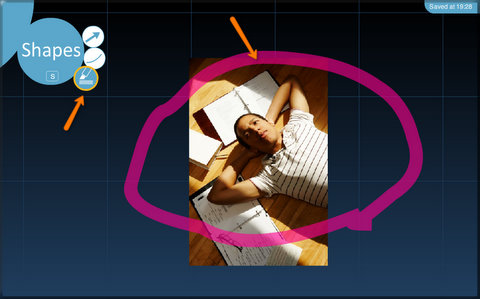
- To add underline and arrow, click Shapes.
- Select one you like to use.
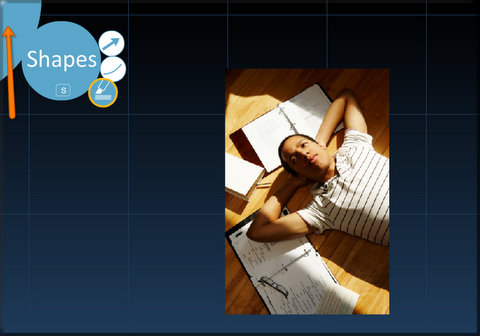
- Click Undo to delete the previous step.

- Double click the corner to go back to the Bubble Menu.
- To change color and font, click Colors.

- Select one you like to use.
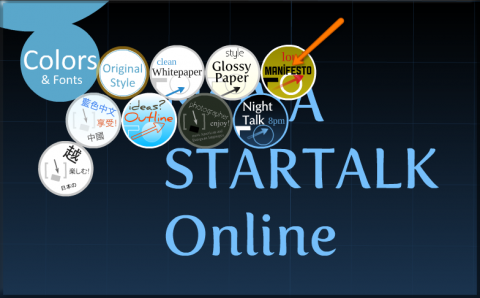
You can see different color and fonts.
- Click Night Talk to go back to the original style.
Now you see how easy to change your canvas.

- To group your objects, click Frame.
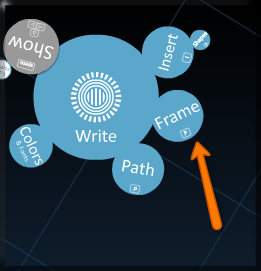
- Choose the one you like.
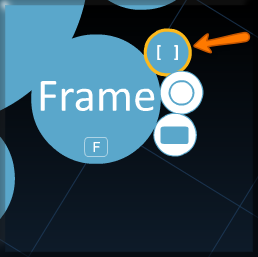
- Drag your mouse to create a frame.
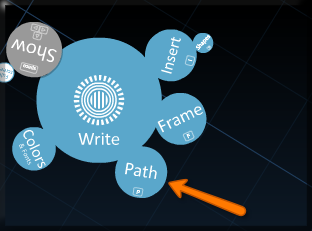
- To create an order of your presentation (storyline), click on Path.
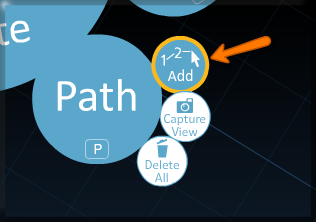
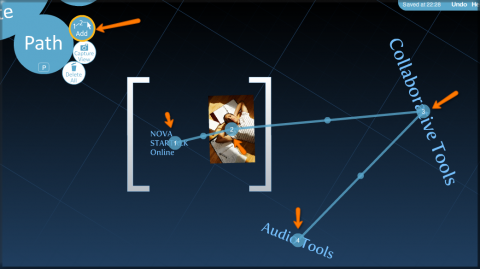
- Click 1-2 Add tab and click on an object you would like to have in your storyline.
This is how you choose the path of your Prezi.
- To see what your presentation looks like, click on Show.
- To zoom to an object, click on it.
- To zoom out, click the background.
- Use the arrow keys to click through your Prezi.

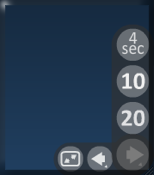
- To select an Auto Play timing, hold down the next button.
- When you are done with your Prezi, click Save and Exit.

- Click on your Prezi.
- Click the Publish box. You should be able to see the URL in the box.
This is the webpage address where your Prezi is located.
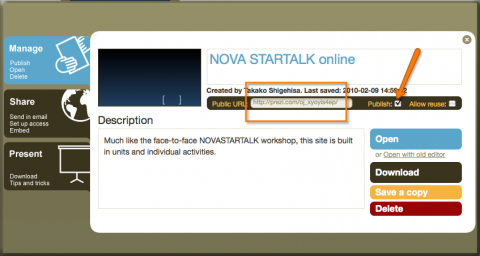
- If you do not like your Prezi to be published, click the Publish box again to uncheck.
Click the Open tab to show your Prezi without publishing.
Additional Resources and Works Cited
Activity Management
- Watch Prezi in 3 minutes at Prezi homepage. http://prezi.com/learn/getting-started/
- Go to Showcase at Prezi homepage and take a look at a couple of examples (including the following ones) to explore the usage examples of Prezi.
- Who is he? http://prezi.com/lm2hgvry3rz1/ Created by Li-Yun Lu
- My birthday http://prezi.com/lcoyqydmzm51/ Created by Li-Yun Lu
- 30 Things about Me http://prezi.com/gco-vb9vvvy2/ Created by Brooke Ahrens
- What do we do in Japanese 2? http://prezi.com/iknht-koqyjb/ Created by P. Henty
- Spanish Class http://prezi.com/0j864xvvcmn1/ Created by Elaine Tolvo
- List the effectiveness and ineffectiveness of the Prezi examples for languages class use.
- List what kind of tasks would be appropriate for your students using Prezi .
- Explain how to design Prezi tasks for your students focused on student collaboration.
- Describe how to assess students’ learning progress performed.
- Develop an example of one activity for your daily lesson plan using Prezi.
- Write goals and objectives for your activity.
- Identify the task your students will be performing.
- List standards addressed in your activity and rational.
- Describe how students will be collaborating.
- Explain how your students’ performance will be assessed.