OverviewInstructionsResourcesActivity Management
Windows Movie Maker comes with Microsoft Windows and is software to edit video files. It features transitions, title and credit animations, which helps movies to look professionally done.
Units |
Presentation Tools, Video Tools |
Duration |
2 hours |
Standards |
Communication, Communities, Connections |
LEVEL |
Advanced, Beginner, Intermediate |
WEBSITE |
Visit Windows Movie Maker Website |
OS |
PC Only |
PREREQUISITES
- Basic use of computer.
- Ability to download video clips to a computer from a video device.
OBJECTIVES
At the end of the lesson, users will be able to
- Determine what kind of video projects would be appropriate for their language students.
- Critique the effectiveness for language teaching of other Windows Movie Maker projects.
- Explain how to design video projects focused on student collaboration.
- Talk about an example of one activity using Windows Movie Maker in alignment with the standards for language learning.
- Describe how they will assess students’ learning progress.
- Import a movie.
- Add transition to a movie.
- Add title to a movie.
- Save and share a movie.
MATERIALS NEEDED
- Windows Movie Maker (installed in your PC)
- Video Files: .asf, .avi, .wmv
- or Movie Files: .mpeg, .mpg, .mlv, .mp2, .mpa, .mpe
Note: If your media is not in one of the above file extension, you will need to convert your file with another program, such as Prizm video converter http://www.nchsoftware.com/prism/index.html (free download).
Step-By-Step Instructions
- Open Windows Movie Maker.
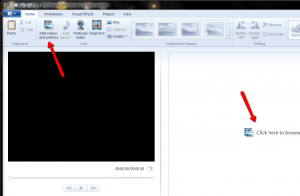
- Click Add videos and photos or Click here to browse for videos and photos.
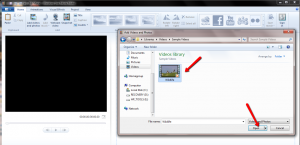
- Select the video clip you would like to see and click Open.
- Do not forget to click Save often as you go on to the next step. Also, use these arrows to undo or redo your step.

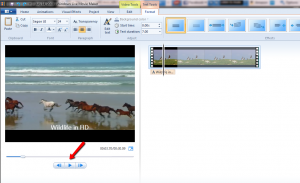
- Now you will see your video clip. To see what it looks like, click the Play button.
- To add a title to your movie, click the Home tab and Title.
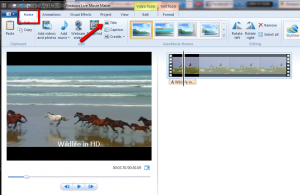
- Type in your title in the box provided. Click the Text tools tab to change the text style, color, font and position.
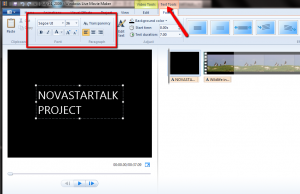
- To change the background color, click Background color and choose the color.
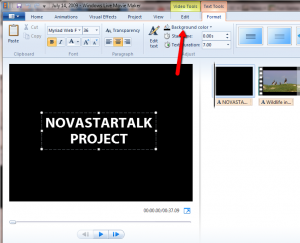
- Click Edit text and click the Play button to view your title.
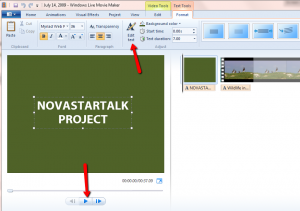
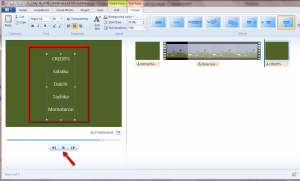
- To add credits to your movie, click the Home tab and Credits.
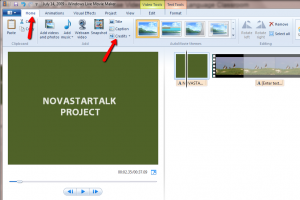
- Now you will see your video clip, your title and your credits on your right. Type in your credits in the box. To see what it looks like, click the Play button.
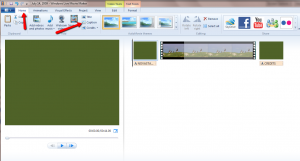
- To add a caption to your movie, click the Home tab and Caption.
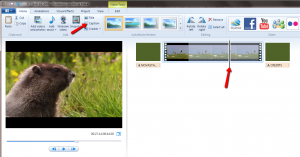
- Click on your movie and you will see the control bar. Choose a section to insert your caption by grabbing the control bar (place the mouse over the control bar and hold down the left or right button). Move the control bar to the desired location on your video. Click the Caption.
- Type in your caption in the box provided. You can change the text style, color, font and position.
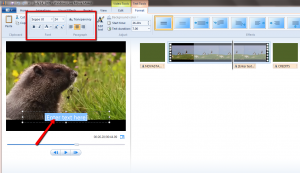
- Decide how long your caption will appear by typing in the start and end time.
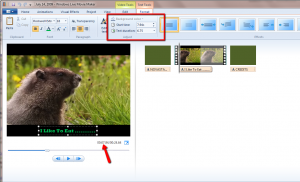
- Click the Home tab and put your mouse over one of the AutoMovie themes for a demo. Select a theme by clicking on one of the theme options.
.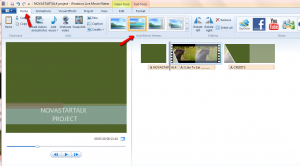
- Once you select a theme, you might see additional clips appearing in your workspace depending on the theme selected.
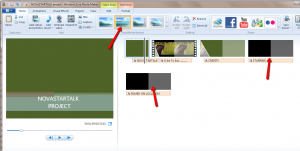
- To remove unnecessary clips, click on the clip image and then click on Remove .
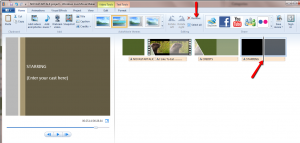
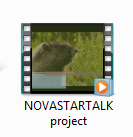
- Click the play button to view your entire movie. When you are happy with your movie, click on the one of the Save icons. Note that the save icon on the right will save your movie in the .wmv format. Once it is created and saved, it cannot be edited. This file is ready to be shared via e-mail, YouTube, Facebook, etc.
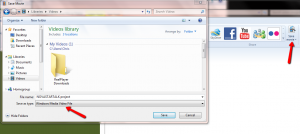
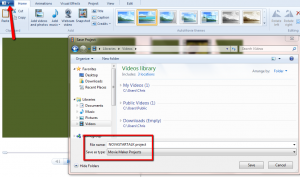
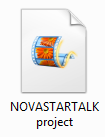
- The Save icon on the left will save your movie in the .wlmp format. This file format allows you to go back and edit your project as long as you save it in that format.
 .
.
Additional Resources and Works Cited
Activity Management
- Take a look at the following to explore usage examples for Windows Movie Maker.
- Winter greeting card
- Vacation to Boston
- Introducing Spanish verbs created by Silvia Tolisano
- Go over the Possible Technology Driven Projects section in How to use technology to meet National Standards (5 Cs) by Dr. Mohamed Esa.http://www2.mcdaniel.edu/german/startalk-arabic/TechnologyandStandards.h…
- List the effectiveness and ineffectiveness of the Windows Movie Maker examples for languages class use.
- List what kind of tasks would be appropriate for your students using Windows Movie Maker.
- Explain how to design Windows Movie Maker tasks for your students focused on student collaboration.
- Describe how to assess students’ learning progress performance.
- Develop an example of one activity for your daily lesson plan using Windows Movie Maker.
- Write goals and objectives for your activity.
- Identify the task your students will be performing.
- List standards addressed in your activity and rationale.
- Describe how students will collaborate.
- Explain how your students’ performance will be assessed.

